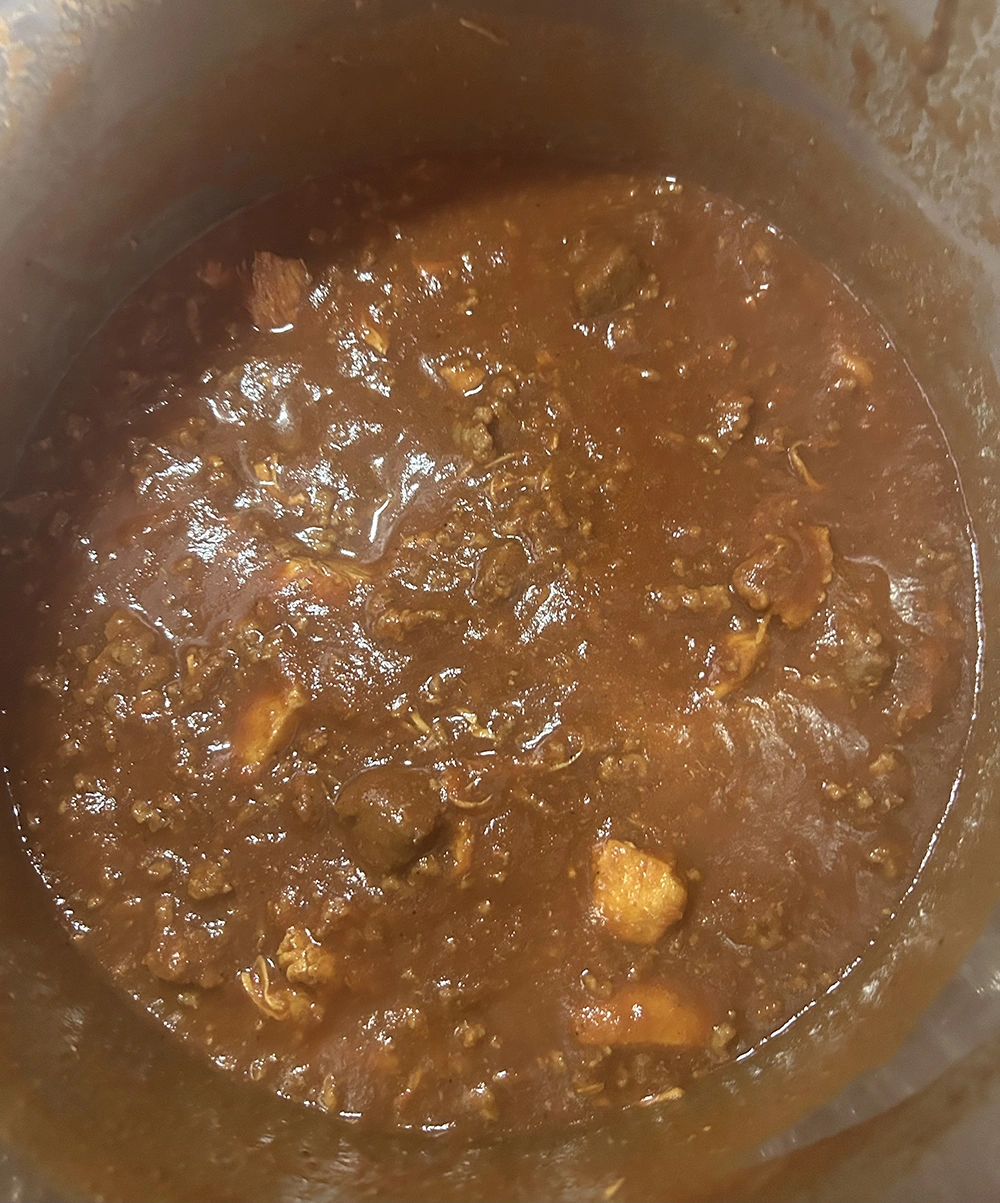
MY CHILI RECIPE
A good chili recipe should be shared with all! This one is easy to make, doesn’t require you to hunt and skin an elk, and also doesn’t taste like chunky ketchup (like some sad chili recipes do). May its meaty goodness give you many hours of eating pleasure.
Bonus: I won’t make you scroll through some stupid story about how my grandmother was knitting shawls for orphan cats during the Depression when an idea for chili popped into her head.
Ingredients: (note: I usually buy a bit more than I need…better safe than sorry)
~3.5 lbs of meat:
– 5 lbs of chop-meat. I prefer to grind my own from stew meat, but store bought is fine.
– 1 lb of beef (I prefer top round) cut into 1 inch cubes
– 1 lb of chicken or turkey, likewise cut into 1 inch cubes.
– 2 large (32 ounce) cans tomato sauce
– 1 small can of tomato paste (8 or 10 ounces)
– 2 quart sized cans or bottles of beef broth
– A few beef bouillon cubes
– 2 jars of beef gravy or aus jus
– A bottle of red wine (cheap is fine)
Spices:
– Chili power
– Black pepper
– Salt
– Cayenne pepper
– Cumen
– Onion Powder (can use minced onions if desired)
– Garlic Powder (can use fresh minced garlic if desired)
– 2 bottles of green pepper sauce.
– 1 bottle of Frank’s red-hot sauce*
*Can substitute your favorite hot sauces, but I would recommend against either BBQ hot sauce or Chipotle sauces. Their tastes will definitely skew the chili flavor.
***********************************
Time to Cook: ~ 2-3 hours
NOTE: This isn’t a crock pot recipe. It assumes you’re either around to stir this mofo constantly or that you like the taste of burnt chili. If you decide to go the crock pot route, this is easily an all-day affair.
Directions:
1) In a large sauce pot (1.5 gallon capacity or large) add in the tomato sauce and the beef broth. Fill each sauce can with water and add that as well. Add a healthy amount of chili powder, black pepper, and green pepper sauce to the mixture*. Toss in 1 beef bouilion cube. Turn on medium-high heat and stir. Let it heat up and get to work on your meat.
*I just go with feel here. Know your own tastes. Going light is ok, you can always add more as this cooks.
2) Season all of the raw meat with the spices listed. Feel free to get creative with your spicing, they don’t all need to be the same. However, at minimum, Chili powder should be used on all of them.
3) Brown each of the 3 meats separately in a large frying pan with a cup of wine each, leaving the chop-meat for last. Add more spice as desired. Brown the meat slightly. Do not cook fully. DO NOT OVERCOOK. As the beef and chicken cubes are finished, pour the entire contents (meat and sauce) into the main pot.
When the chop meat is finished use a slotted spoon to put the meat into the main pot. Do not put the drippings from the chop-meat into the pot. There will likely be a lot of fat in it which you’ll just wind up skimming out anyway. Don’t believe me? Fine, enjoy your fatty greasy chili.
4) All right, you have the base of the chili set up. Stir and bring to a low boil.
5) Once it’s boiling, any oil and fat should separate from the meat and float to the top. Skim this off and toss it. You may need to repeat this step a few times. You’ll want as little fat/oil in this chili as possible. Trust me on this.
6) Turn the heat down to low-medium and cover the pot. Make sure to stir every 15 minutes for roughly the next hour. Every time you stir, do a taste test. Add in more spice or hot sauce as needed.
Trust me when I say that you can add in a LOT of chili powder, black pepper, garlic, onion, and cumen without going overboard. The only thing I would be careful with is hot sauce. Know your limits and spice it up accordingly. If you have no idea what this means, maybe you should ask someone else to cook this for you.
7) After about the first half of step 6, add another bouilion cube and one of the cans of gravy/aus jus.
8) Following step 6, the chili should be reduced enough to start thickening. Dip a spoon in and see what happens. If the chili sticks to your spoon it’s coming along nicely. If not, go back to the steps above.
At this point it’s advised to turn the heat down to low and stir every 5-10 minutes for the next half hour. Make sure the meat is NOT sticking to the bottom of the pot or it will burn. The difference between good chili and burnt chili is about the same as eating chocolate pudding vs. a bowl of mud.
9) At this point the chili should be thickening up nicely. Stir continually. Since allowing it to thicken too much while on the flame can cause it to burn, I would recommend using tomato paste to thicken to desired consistency.
OPTIONAL STEP: If your chili still isn’t super thick, grab a colander and a soup pot. Pour off some of the liquid from the chili – using the colander to strain out the meat. Place the meat back into the chili – which should serve to thicken it up the rest of the way. As for the liquid run-off, let it cool then put it in a freezer bag and freeze it. You can mix it with tomato sauce later for some seriously killer spaghetti and meatballs. In fact, I purposely do this step these days because it makes such awesome sauce for a later date.
10) If you’ve done everything correctly you should notice your arm starting to cramp up as the chili now has an almost glue-like consistency. If it does, then congratulations! You may turn off the stove and get yourself a bowl. It’s eating time.
The remainder can be refrigerated for about a week or frozen until such time as the world ends and you need a good cup of chili to help fight off the zombie hordes.
Goes well with rice, cheese, and bread. Goes really freaking well on hotdogs.
Rumor has it, it also goes good with beans, but I prefer to leave such things to … bean lovers.